For years, I used the planting bed near my front door as a holding area for new things that didn’t yet have a permanent home. It was a mish–mash mess that was exhausting to look at. I needed a cohesive design that highlights the house (especially now that it is freshly painted!). The before is too grassy (I want plant an interesting tree – a Japanese maple – to give more vertical interest). Nothing grows well here(I’m working towards more native plants). And the soil is junky (I’ve got a plan to improve that as well).
I used this project in my courses as an example project for how to design a planting bed. (I teach garden design and planting design online). In the courses, we start with my step-by-step process to create a master plan. And then I follow that up with instructions for how to create a detailed planting plan. Plant sourcing and installation tips are also included.
Now that I have a plan in hand – I’ve been in a flurry of garden renovation to build and install this new garden.
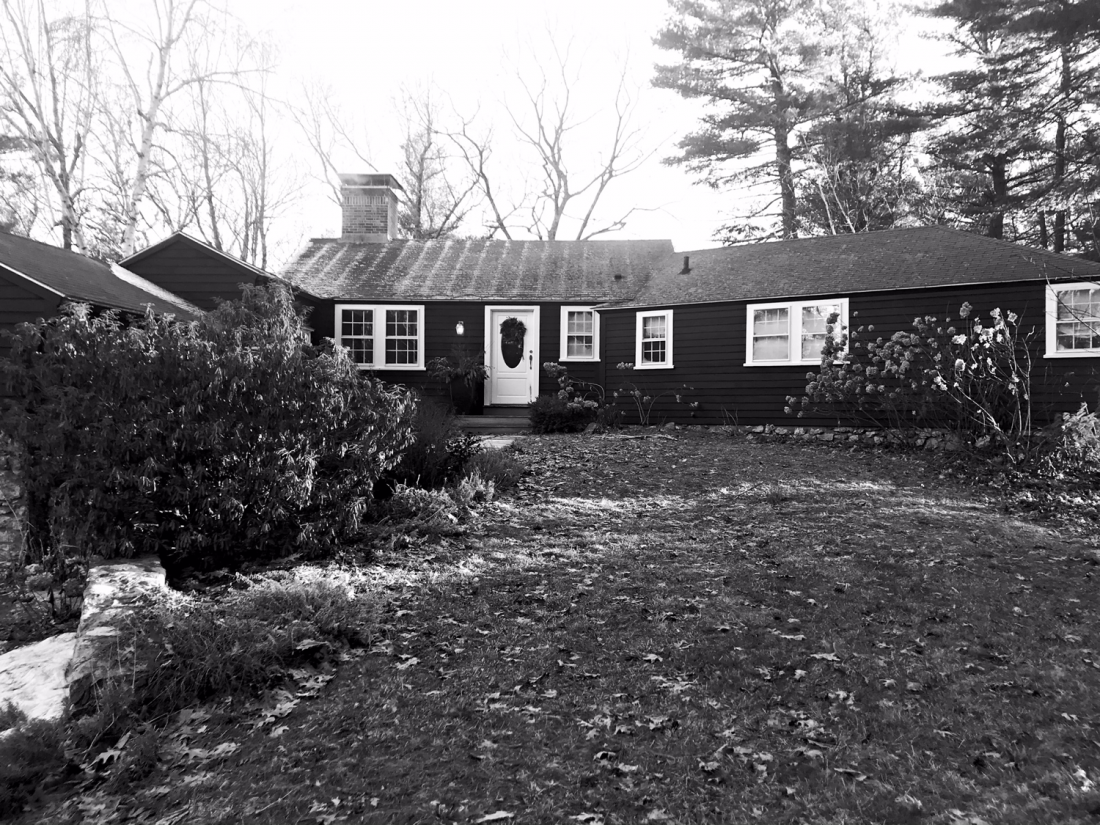
Before – I’ll share the full after when all the plants are in next week!
How to Plant a Tree (so that is doesn’t die)
Q. Where do you start on a new planting project like this (i.e. replanting a garden bed)?
A. Biggest first. In other words, start with the planting the trees and shrubs.
My plan required removing an established Pierus that was taking over the front steps and blocking views in all directions. It was a sad day to take such a beautiful shrub down – especially since it was in full bloom and the bumble bees were loving on it. As I cut and dug, I was choking back tears at the loss. But as I surgically removed this mother of a shrub, I discovered three babies growing underneath. I was able to transplant them to new and better areas of my garden. That took that sting out of ripping out something so beautiful and healthy.
With the giant shrub gone, I have space to implement my plan for drifts of wilder plants anchored with a new, and arguably much more interesting focal point. I’m planting a Beni Kawa Japanese Maple tree.
There are a million (or so) varieties of Japanese maple. I encourage you to do a deep dive on the species instead of just settling for the standard ‘Bloodgood’ variety. (Though they are very nice – you can’t argue with a Bloodgood). I like to find something more special and unique and in the world of Japanese Maples and you don’t have to look far to find something less average.
Beni Kawa is right sized for my garden (12’-15’ in all directions) and I love the bright red bark and the ombre (yellow to red) leaves. It is quite striking even before it has fully leafed out.
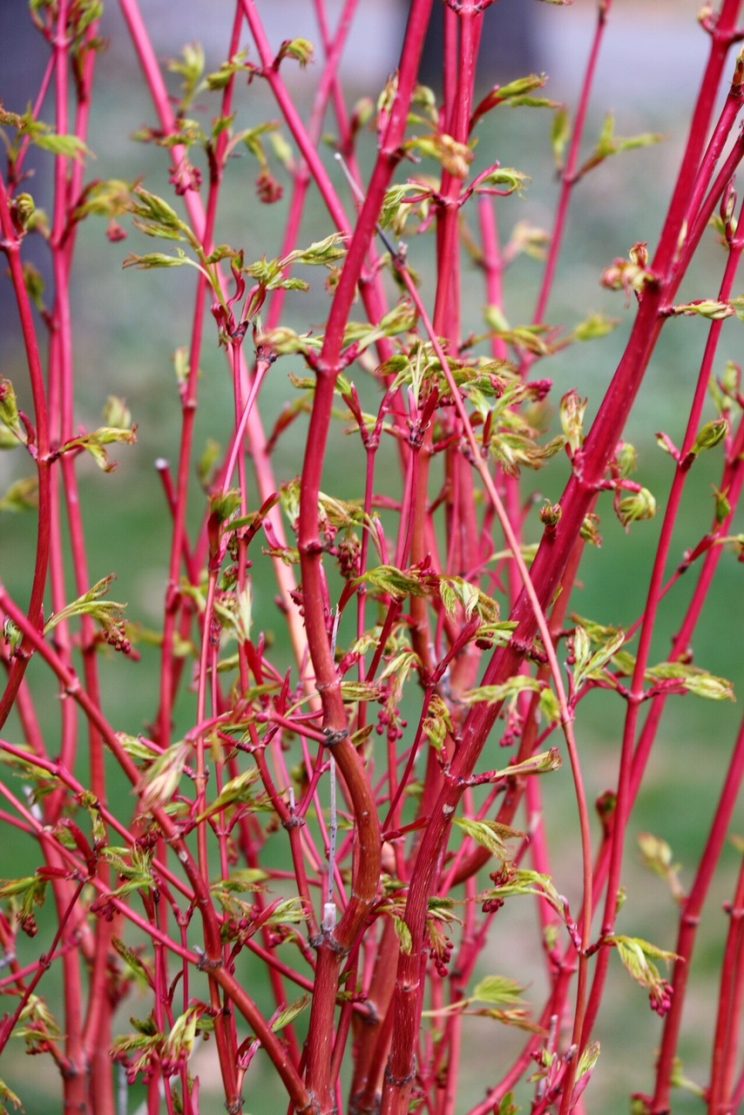
‘Beni Kawa’ Japanese Maple is prized for its bright coral red bark and beautiful leaves.
Q. How do you plant a tree so that it doesn’t die?
A. Let’s just say the devil is always in the details.
I think we know the basics: Dig a hole, put the tree in the hole, bury it, and water it. Easy. Right?
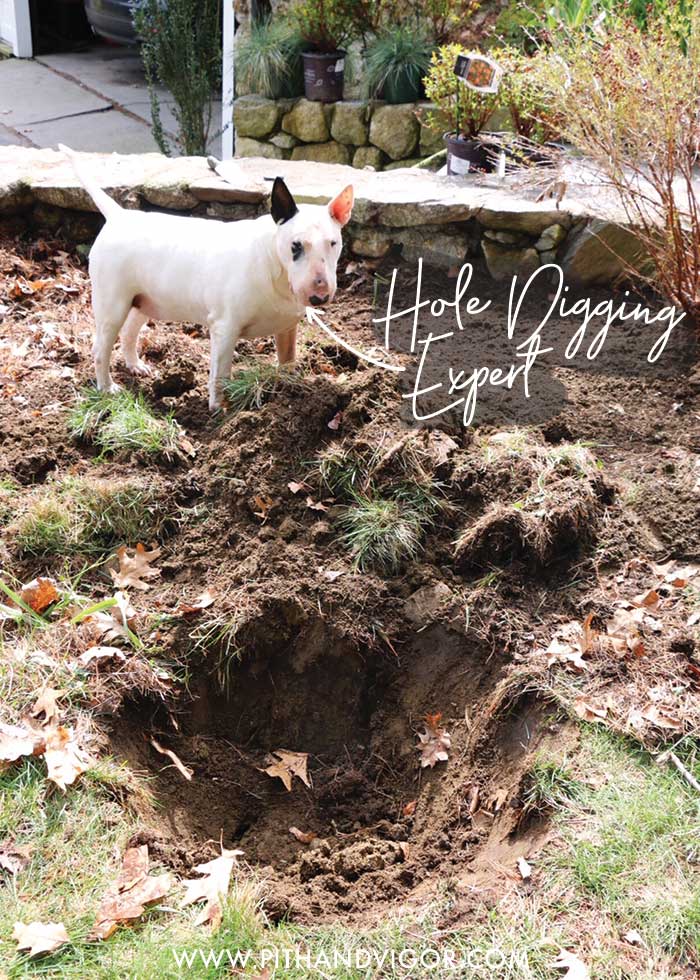
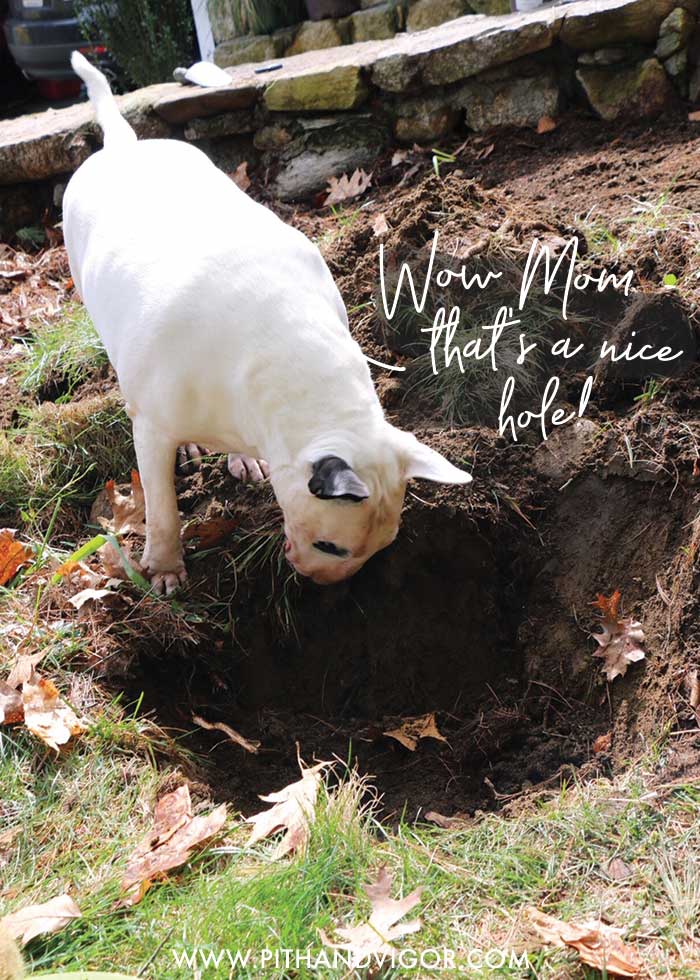
Zippy is an expert hole digger and gives this wide but not too deep hole a paws up.
But here is where things can go wrong –
Have you ever heard of the $5 plant in the $50 hole? The idea behind it is good advice. Spend time on the hole and make it good – because a cheap plant can become great if planted correctly. And since tree’s aren’t cheap – especially Japanese maples – make extra sure you invest in the hole.
The most important element of the hole is depth. You DON’T want it to be too deep. This is super important. Here is another garden cliché (that is also good advice) –
‘Plant it high – it won’t die, Plant it low – it won’t grow.’
-old gardener wisdom
Err on the side of making your hole too shallow rather than too deep. If you get over ambitious and dig too deep, just fill it back in with some of the dirt you just dug but mix in some compost for good measure.
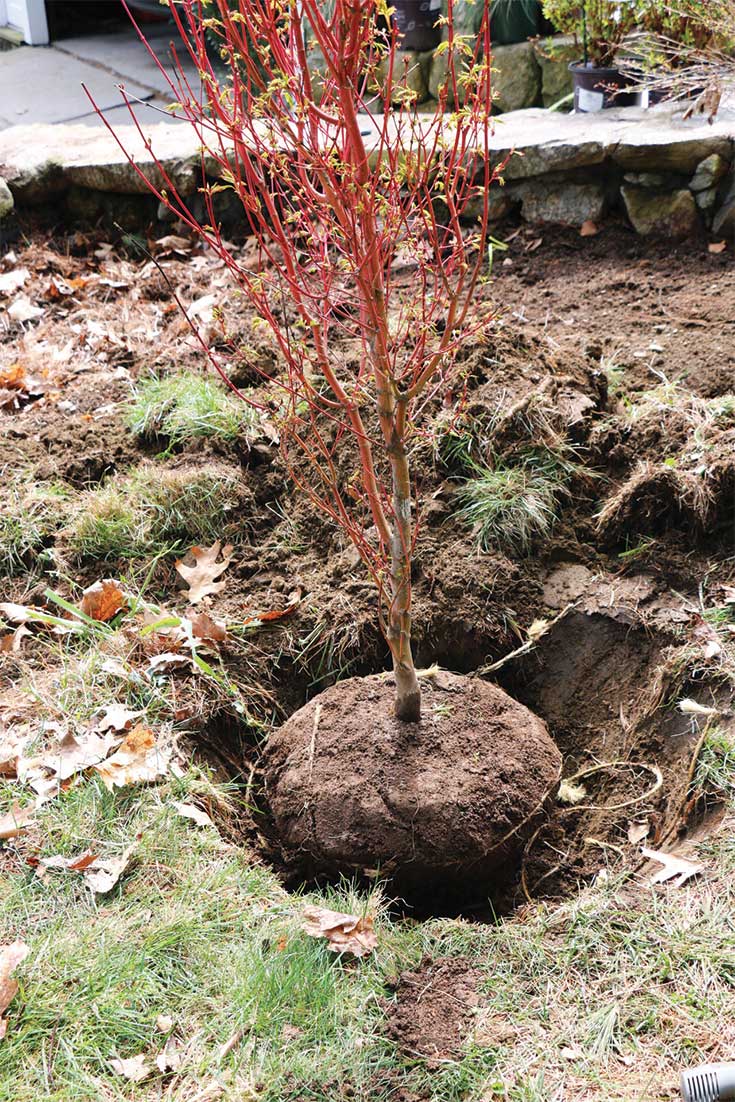
A good way to check the height is to use the shovel to measure. Dip the handle in the hole and grab it with you hand where it meets the ground level. Then use that measure to make sure that the flare of the tree is 1-3 inches higher. This way, once you‘ve maneuvered the tree into the hole, you won’t have to wrestle it back out again to add more dirt beneath.
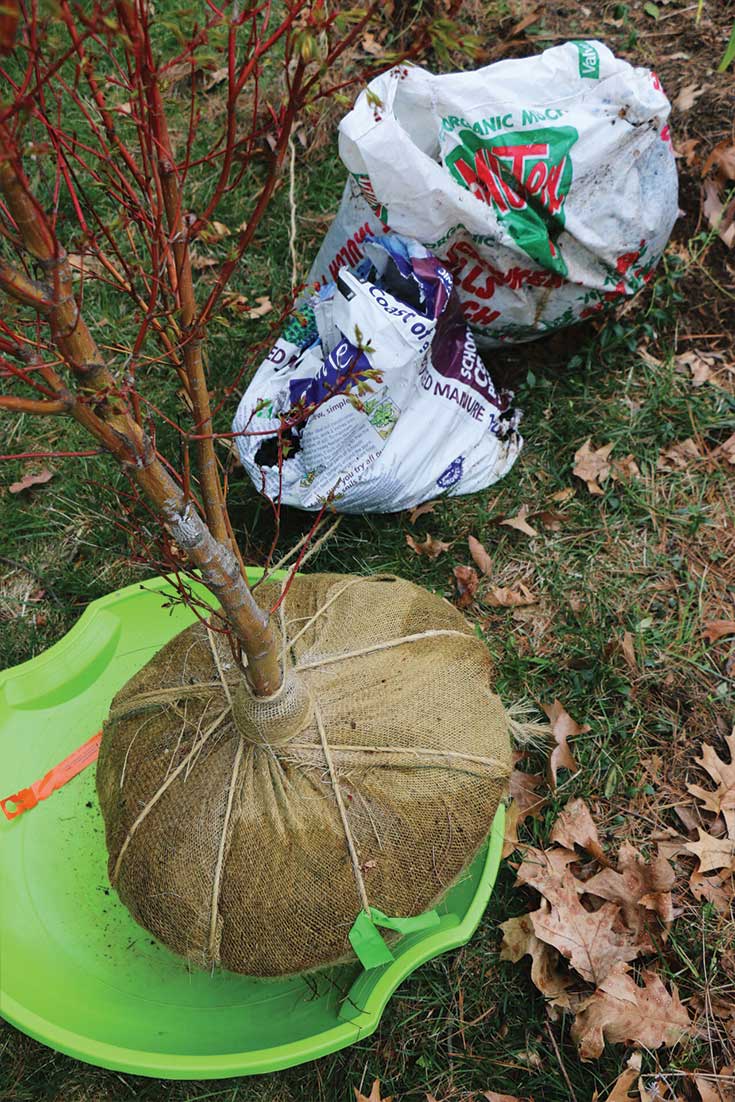
Have compost and mulch ready. I didn’t mulch this project yet because I still have the rest of the planting to come. But here is the order I always follow – plant, water, mulch, water again. Why water again? A lot of mulches will lock into place if they get a good soaking. They expand a bit with the water then re-contract, which will help them to stay put. If you are using buckwheat hulls or another lightweight mulch it can blow away or move around. Water will keep it in place.
PLANTING TIP: Moving heavy unplanted trees around your garden with dish sleds. The kid’s dish sleds are my savior for moving big stuff in the garden. You can roll stuff into them (unlike a wheelbarrow where some amount of hefting is required) and then easily slide-drag it around. Also – it is easy to roll off into the hole.
If the root ball isn’t wet, water it before you unwrap the ball. Trees need lots of water during transplanting and this helps to keep the ball intact while you maneuver it to be just right.
The hole you dig should be wider than the root ball (I go for about 2-2.5x wider). Before you start filling in the edges you should do two things: fill part of the hole with compost, and water. I fill the hole with water and wait for it to drain out before beginning to refill dirt around the root ball.
The tree i’m planting is a Japanese maple tree that is balled and burlaped – which means that it was grown in a field, dug and wrapped up for sale. This is different than trees that are container grown (meaning they have been in a container their whole lives).
With a balled and burlaped tree you only need to remove the wrapping – you don’t need to worry about scoring or unwinding the roots. If your tree is container grown, make sure to inspect the roots before you plant. If they are winding around the inside of the pot or are very dense, loosen them up and encourage them to spread out rather than continuing to swirl. Swirling roots aren’t good for the health of the tree.
PLANTING ADVICE: If you have a choice of a balled tree or a container tree – all other things being equal – I’d choose the balled tree – it is just going to establish better in your garden.
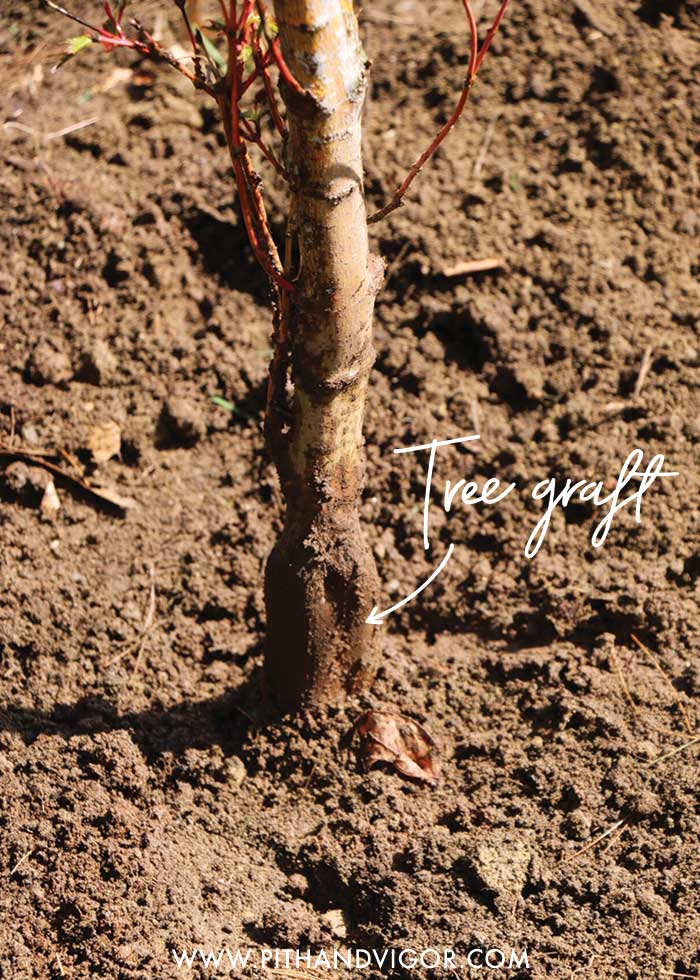
Sometimes with balled and burlapped trees, the digging process causes the dirt to push up the stem (as you can see in this case). When you unwrap the roots, you may have to move a few inches of dirt away from the stem to re-expose the flares and the graft. The wide part at the base of the tree is the graft.
Q. What is the flare of the tree?
A. The flare is the area at the bottom of the tree where it meets the ground.
If you look at the base of a tree you might see a couple things. First, every tree has a flare. The flare is where the vertical stem starts to widen out and become roots. You don’t want to bury the flare, you want it to sit right above ground level.
At some point the stem will come down and start to spread out to the sides as the roots go into the ground. The spreading fingers are called flares and you should NOT be bury them. If you bury the flares, either when you are planting it or later if you mound up too much mulch around the base, you are endangering the health of the tree.
You might also (depending on the tree) see an area where it was grafted. This is done to strengthen trees and involves combining two trees into one super tree. Typically it is a tree with strong root stock combined with a top that is more ornamental. The graft is always above the flare and can sometimes look like an unexpected bumpy area of the stem. You DEFINITELY do not want to bury the graft!
If you are planting so that the flare is at the right level, you shouldn’t have any problems. But if you plant so that the graft is below the soil or mulch level, what can quite likely happen is that the top part of the tree will start to develop its own root system. It will no longer use the much stronger and better grafted root stock and ultimately you end up with a weaker tree.
If your tree was grafted, you should be able to see the graft. (BTW – most all new Japanese Maples that you would plant are grafted- as are many fruit trees). Sometimes the graft is a foot or two up the stem, but sometimes it is really low – just barely above the flares.
Refill the hole around the newly placed tree
Use the fill that you dug out – along with a nearly equal amount of compost to refill the hole around the root ball. If you have dug grass out (as I have) you can turn those clumps upside down and use them to back fill the hole or to tip the tree if the root ball isn’t level. Grass can be vigorous, but you don’t have to worry that these upside down buried clumps will re-grow. They can be handy to fill and wedge things into place.
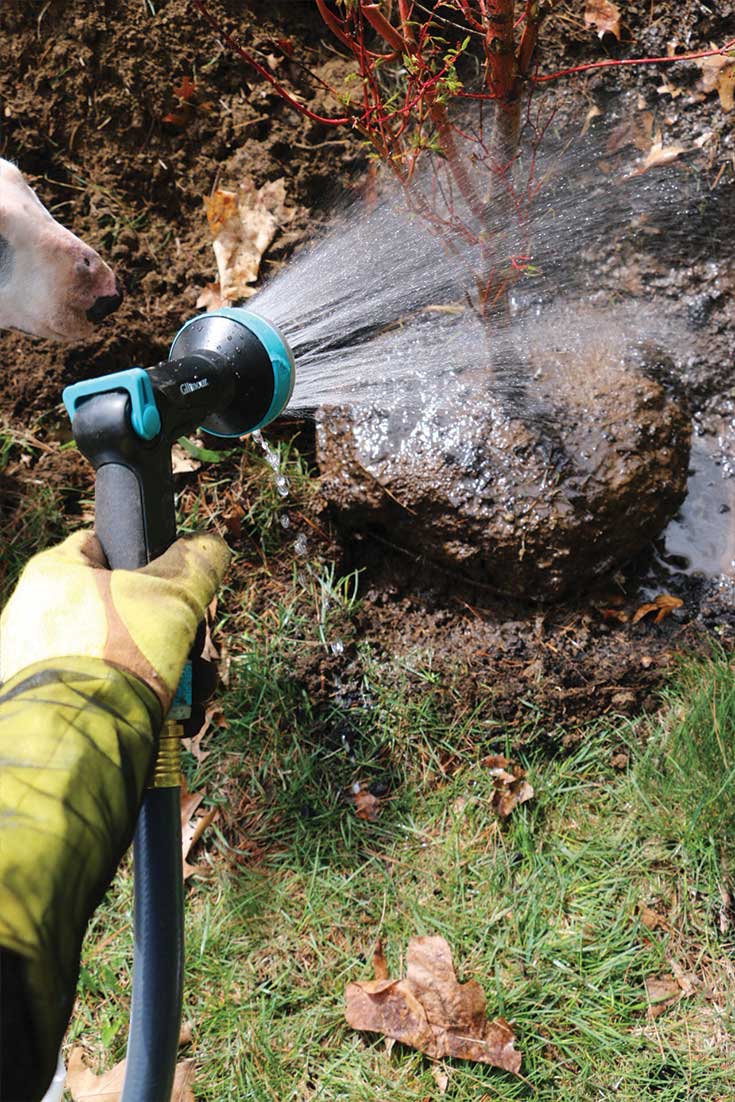
Fill the hole with water and let it soak in before you start backfilling. Use a sprayer doesn’t blast the roots. Gilmour’s Thumb Control Watering Nozzle with Swivel Connect sprayer has many settings that you can rotate though. Put it on the softest one where the water comes out like gentle rain. This setting is also good for dogs who want a quick drink without feeling like they are drinking from a fire hose.
Q. So now that I have my Japanese maple tree planted – what do I do?
A. Newly planted trees need special attention if they are going to survive.
The main reason transplanted trees and plants fail is due to not getting enough water. Yes, there are other factors (in the case of trees, shock is also a worry) – but mostly it is water. And when I say mostly, I mean almost always. There is a common misperception that rain and irrigation systems are enough but the reality is they usually aren’t. You have to water new trees. Plan to do this by hand to make sure they get the TLC they need.
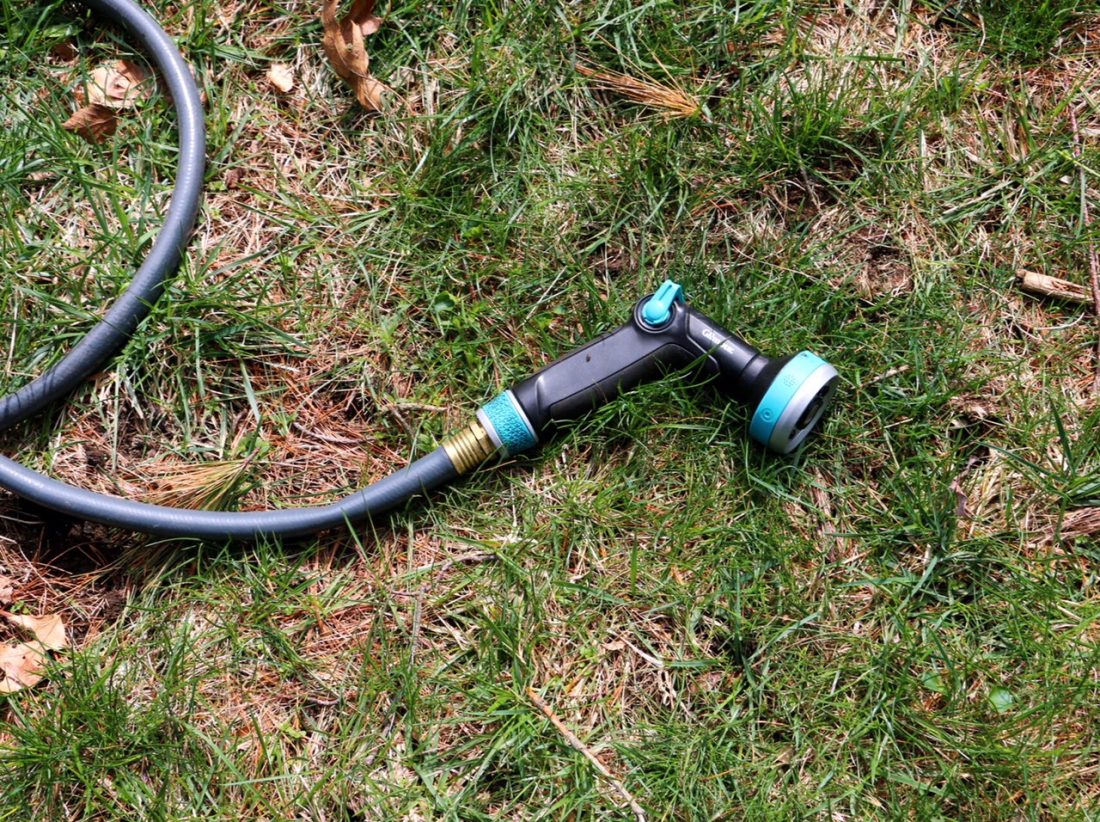
Keep the hose and sprayer handy because you need to water new trees often. In the season I tend to get lazy and not even bother turning off the water at the spigot.
Here is a guide to how often you should water your new tree.
Daily for a week
Every other day for 2 weeks
Then 2-3 times per week for a year.
Got it? Water, water, water!
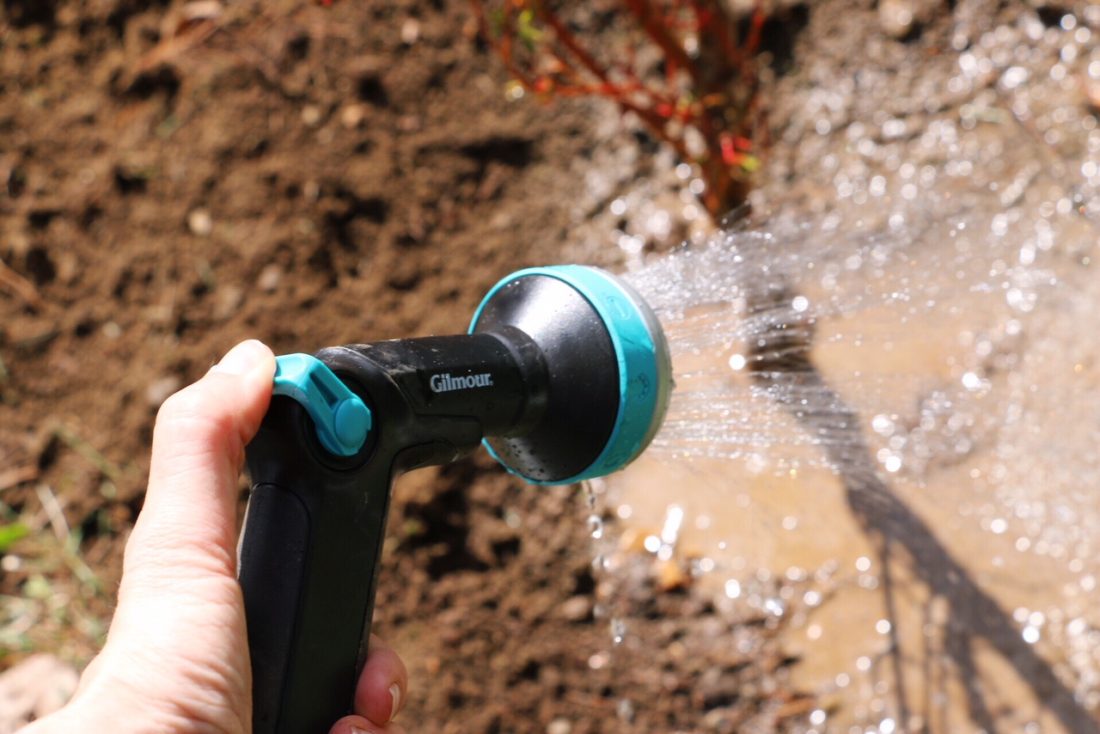
If you are watering and your tree starts losing leaves or looking sick – it may have a case of shock. There are a variety of products on the market for fertilizing trees, but for emergency shock, the treatment I like is Super Thrive. A little goes a long way (so don’t over do it!). You only need a few drops mixed into your water to make a difference. If you are concerned, add a couple drops to the hole-full of water before you start back filling. Super Thrive is liquid and will dilute and spread through the root ball and the surrounding dirt as the water drains away.
If you think your new tree is in shock, act fast. A few days can make a difference, so try to get it emergency care as soon as you can.
Check out this post to see the garden as it has progressed:
Cut it Or Keep It- Maintaining a New Naturalistic Garden
You might also find these posts helpful when planting trees:
Share this post:
