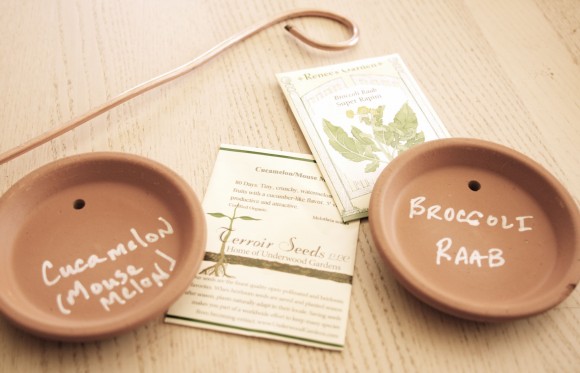
Are you getting ready for spring? I took a walk around the garden today and was so pleased to see all the little nubs of plants poking through the ground and leaf buds ready to pop on the trees and shrubs.
My seed orders arrived last week, and I realized that I had gone all-in on things that I had never grown before. It is going to be a fun season with lots of experiments on the ground. The trouble is that nearly all of my old plant labels from last season are useless…I am just not growing the same stuff.
I’m tired of the not-so-great plant label system I’ve had. Plants are either not being marked at all or marked with labels I made from some old wood a few seasons ago. The stuff was half rotten back then…and by last year, they were literally disintegrating.
So I’ve made some new markers, and the design brief to myself was simple — sturdy, attractive, more long-lasting than what I had, and able to change-up with ease. (Cause I can’t help but always try new things and what to do with a plant label for something you never want to grow again).
Making Terracotta and Copper Plant Markers
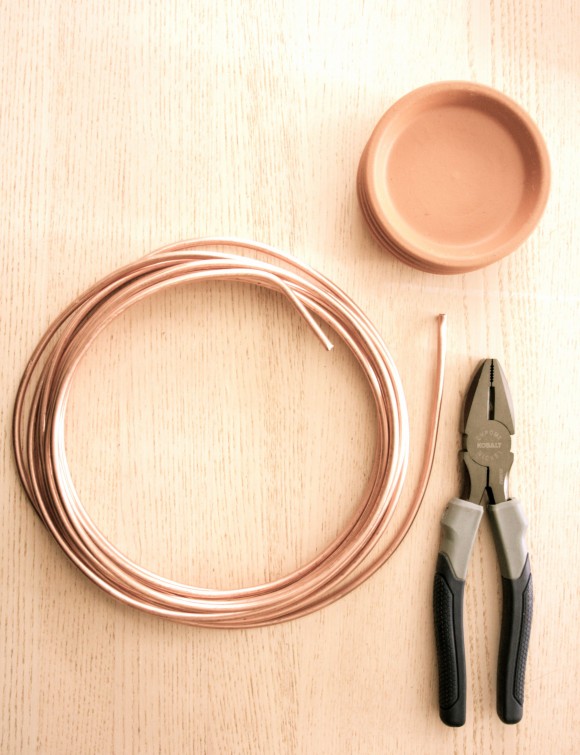
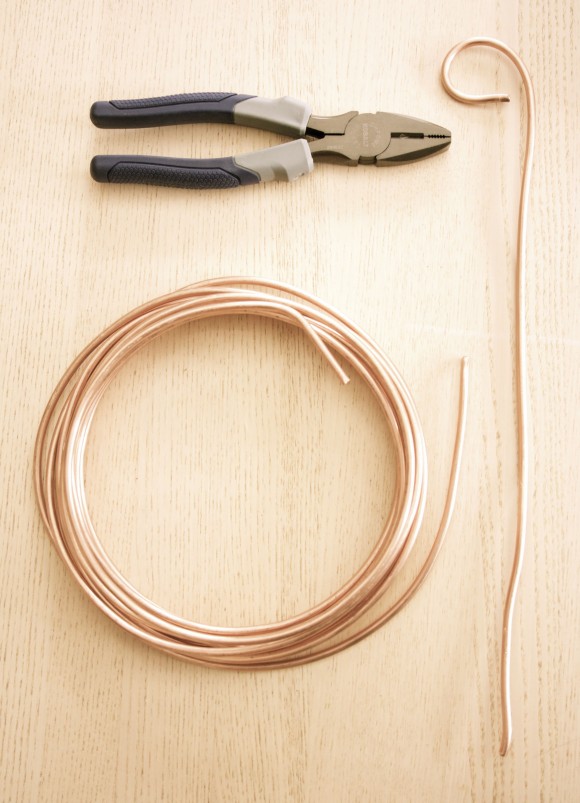
Here is what I did: I started with a package of 25 feet of 6 gauge bare solid copper wire from the electrical aisle. I cut off about 14 inches and used a heavy-duty pair of wire cutters/ pliers to straighten it and then bend the end into a pleasing loop.
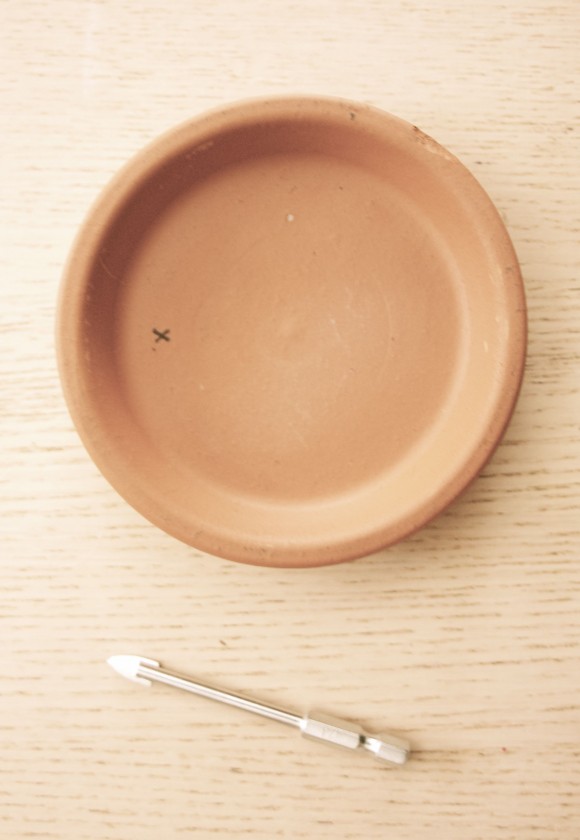
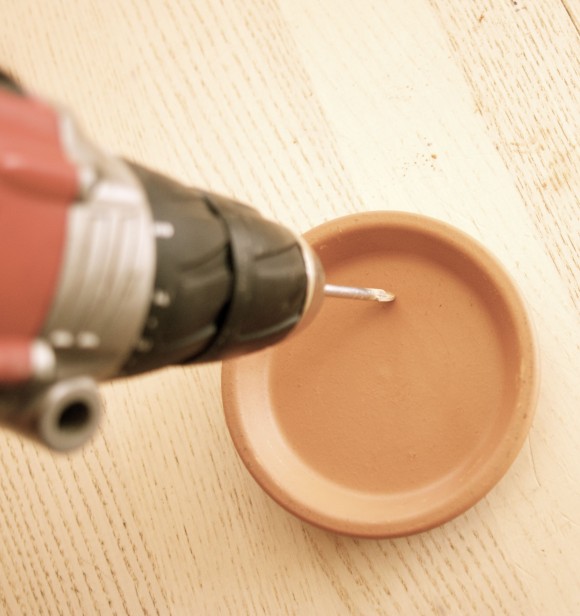
Separately, I bought a bunch of small terracotta water dishes (that go under pots) in the garden center. These are about 4 inches in diameter, but I think the next size smaller could also work. Marking a hole where I wanted to drill, I used a ceramic/ glass bit to drill a hole in the dish.
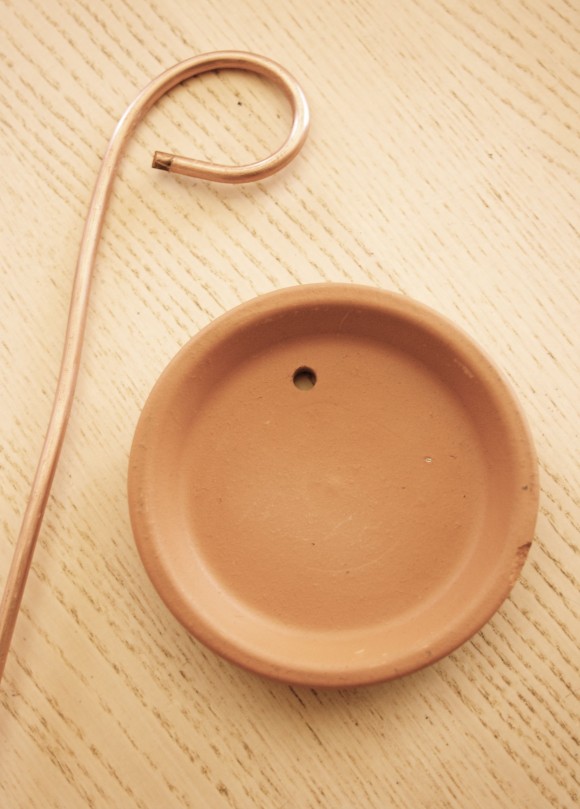
The hole is just a little bit bigger than the wire, so I can easily thread the wire through the hole to hang the dish.
Using chalk ink markers, (I used White
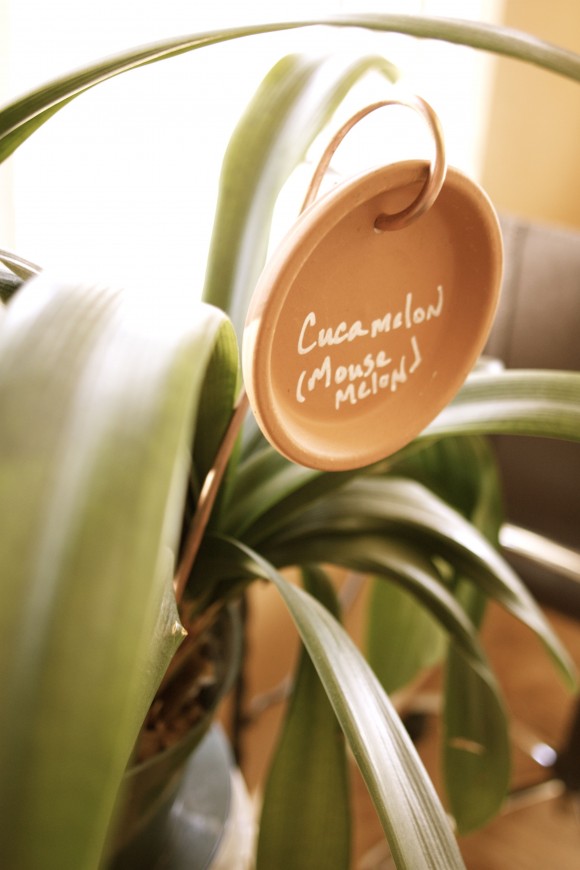
, but they come in a variety of colors) I added my plant label. I’ve done a bit of testing…if you use chalk ink markers, the ink doesn’t move if it gets wet — unless you touch it — so it should last the season. But next year, when have a whole slew of new things I will be able to wipe away the old chalk and replace it with something else.
I posted over at Apartment Therapy about my cucamelon growing plans and other quirky veg that I am experimenting with.
Once the dish was hung on the copper wire, I tried it out in my Clivia plant (cause really you don’t want to see the mess that is my veg garden this time of year). If you wanted to make a slightly different version, I think it would be cute to paint the insides of the dish with chalkboard paint, but since I have about 30 more to make, I don’t have the patience for the unnecessary extra step. I am looking forward to seeing how this weather – the terracotta will surely age to a pretty vintage, and the copper will, in time, verdigris.
Images: Rochelle Greayer

