One trip to the big box store to buy seed starting soil and you will immediately notice two things.
First, store-bought seed starting mixes are extremely expensive, relatively speaking, and second, they contain a lot of chemicals and mystery ingredients.
The chemical component alone is enough to compel us to make our own soil mixes, but for fun, let’s look at the cost component a little more closely:
The cost of a well-known branded seed starting soil mix at a large hardware store is $4.47 for an 8 quart bag.
That does not seem like a lot of money until you get home and find that 8 quarts of fancy dirt is not going to get the job done.
In fact, 8 quarts of seed mix is equal to 0.27 cubic feet.
With our below DIY seed starting mix made with ingredients purchased at the same store, we can make 1.12 cubic feet of seed starting mix for $5.61.
To buy the same amount of branded seed starting mix with the chemicals, it would cost us $18.54.
That’s over three times the cost.
{Note, this calculation was done awhile ago, so everything is more expensive now, but the savings in doing it yourself still rings true. All prices mentioned in this article are older prices}
The nice thing about this mix is that is uses only 3 ingredients
Compost, Sphagnum moss (aka peat moss), and Vermiculite.
Let’s take a quick look at what those 3 things are
Compost can be purchased for about $1.75 for a 40 pound bag. However, if you are making your own compost, it is free. And better.
Sphagnum moss aka peat moss is a type of moss that is well known for its ability to absorb and hold water. It has many benefits all around the garden.
A great summary of the benefits of Sphagnum moss can be found in this article from Gardenguides.com. It typically comes in a very large 3 cubit foot bag and costs about $10.00.
Remember that with Sphagnum moss, a little goes a long way. As long as you keep it dry, it will last forever.
Vermiculite is a mineral that can hold water, and it expands to create a lot of fluffiness in your soil mixes.
Although vermiculite can seem a little on the expensive side ($20.00 for a 2 cubit foot bag), like Sphagnum moss, a little goes a very long way, so we recommend investing in a large bag of it and you will be able to use it for projects for quite a long time. Keep it dry and it will last forever as well.
DIY Seed Starting Mix
- 2 parts Compost
- 1 part Sphagnum moss
- 1 part Vermiculite
 Mix as much as you like at a time
Directions
Get a container like a medium plastic tote for mixing the ingredients and storing the unused portion of seed starting mixture for later use.
Using a large scoop, combine 2 parts Compost, 1 part Sphagnum moss, and 1 part Vermiculite into the tote and mix together well.
Continue in this manner until you have the desired amount of seed starting mixture. Set aside the ingredients in a dry environment for later uses.
Fill your seed starting containers, add seeds, and water. Enjoy your DIY seed starting mix!
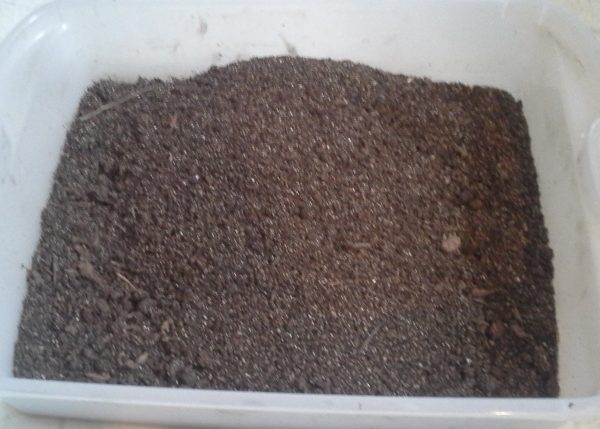
Pro Tip: Sphagnum moss is acidic, and to temper this, you can add a little bit of wood ash to the mix if you have some on hand. For us, the mix works well with or without the ash, and whatever you do, do not use very much ash — just a couple of teaspoons to the amount of mix pictured above would be plenty.
Grow some things
With seed starting, we like to water the seed trays with a turkey baster, or even a spray bottle, making sure to keep the mixture slightly moist at all times, until the seeds sprout.
Once the seeds sprout, continue to water the seed trays as needed. We like to let the mixture dry out and then thoroughly water, let it dry out again, and water, etc.
Once sprouted, place trays in a sunny spot inside, or hang some florescent shop lights above the trays and set them on a timer for 12-16 hours on and 8-12 hours off.
As the weather permits, slowly begin to bring your trays outside during the day for a little bit, and then back in, allowing them to get used to their future life of living outside. This is called “hardening off.”
Increase the times outside in the day and then nights, until eventually you can keep them outside permanently, on a patio or similar area. When desired, transfer permanently into your garden beds.
Pro tip: Experiment with different seed starting containers. In the past we have used re-purposed plastic cups and bottles, newspaper cups, those flimsy plastic seed trays you get when you buy small plants from the gardening center, more heavy duty cell plug trays, small pots, urns, and whatever else we may have on hand at the time.
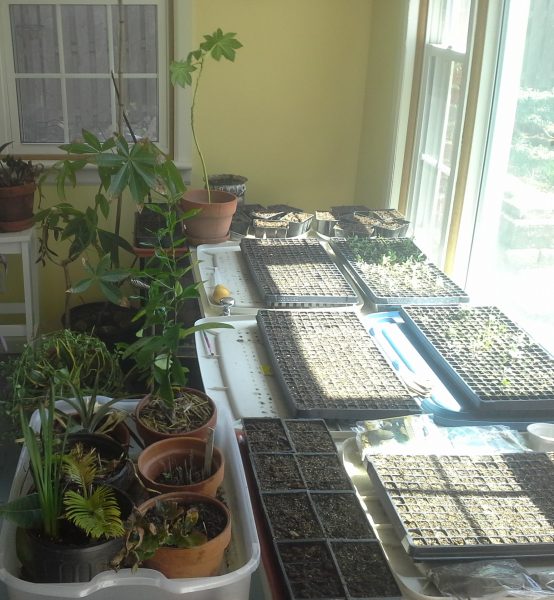
Right now we are excited to be using 288 cell plug trays as shown at the top image.
These cell plug trays are great because they can sprout so many seeds in a small area. You can put 1 or 2 seeds in each little cell and then reseed if it does not come up, which makes your seed collection go a lot farther.
Pro tip: Make a diagram to help remember what seeds were planted in which rows in the trays. Put it on a spreadsheet if you want to nerd out.
Happy seed starting, and please leave a comment to let us know what your tips and tricks are.